Wednesday, February 8, 2012

Progress 2/8/2012

2/8/2012

slumper!
Today I was less productive than I'd hoped.  I was pretty burned out and had a hell day at work.  It was the kind of day where someone emailed me the same question forty times  (31 for reals) and I answered the same way every time explaining that the thing she wanted doesn't exist and she just couldn't understand that sometimes you can't fucking get what you want.  Ahhh!  This is what happens when parents don't tell their children no.  Tangent over.  I did get the torso up to the neck area completed but working on the torso was no fun because though I know not to build it too high because of slumping, I kept building it too high because I was impatient and of course it slumped.  I attached one arm to the torso but that was too wet as well and caused additional slumping.  I had to wrap it and put it away because I was too frustrated.  


I made socks on top of the shoes and an unsuccessful leg that looked like the girl had polio.  I figured out that you have to wrap the clay around a cardboard tube and let it harden over night before you start to work it. 


Though no one has every accused me of being a clean freak, cleaning up after each thing you work on is really important.  If you don't clean the floor, you're stepping on crunchy clay and there are trash bags everywhere. If you don't clean your tools then you're grabbing tools that have hardened clay nuggets stuck to them that will destroy the details and get into your wet clay.  I dust the shelves, sweep the floor, wipe down the counters, and do a quick wet mop every time I switch to a new thing.  I'm probably doing this five times a session.


The studio feels like home now but it needs to be purged of a bunch of crap that we don't really use.  When I make projects of whatever kind (sewing, ceramics, painting, jewelry, photography, printmaking, booking making, etc...) I tend to buy way too many supplies so I don't run out in the middle of the project.  My dad is the guy who has pallets of diet coke in his basement so he doesn't run out so I guess that's where I get it.  The supplies have built up over the years and I have a surplus of fabric/fauxfur/plea-leather/ink/canvases....  I have a Bissel 67 enlarger in the corner of the studio taking up a ton of room that hasn't been used for 8 years.  After this week I'm going to figure out what we will realistically use and give the rest to Wishcraft (awesome kid's art studio!) and sell the enlarger.  


tomorrow will be a better day


Progress 2/7/2012

2/8/2012
...after the advice from the instructor to mould only the face and rebuild the rest

It went from this
to this
I went home and cut the thing in half.  I thought I could maybe recast the entire front but in rethinking it, he's right.  Plus, I didn't really like the texture of the shirt or the shape of the chest.  My kid says, "Ooh!  You get a do - over!" which actually was pretty great in retrospect because I didn't really like how smooth and robotic the torso looked.  I'd gone to Dick Blick and gotten the Rub-R-Mold and what I'd calculated to be enough plaster just in case the Rub-R-Mold wouldn't work and I realized I'd calculated for only the head, not for the entire mould.  My husband was nice enough to  go out and get me more plaster for me Monday night.  He's pretty great.

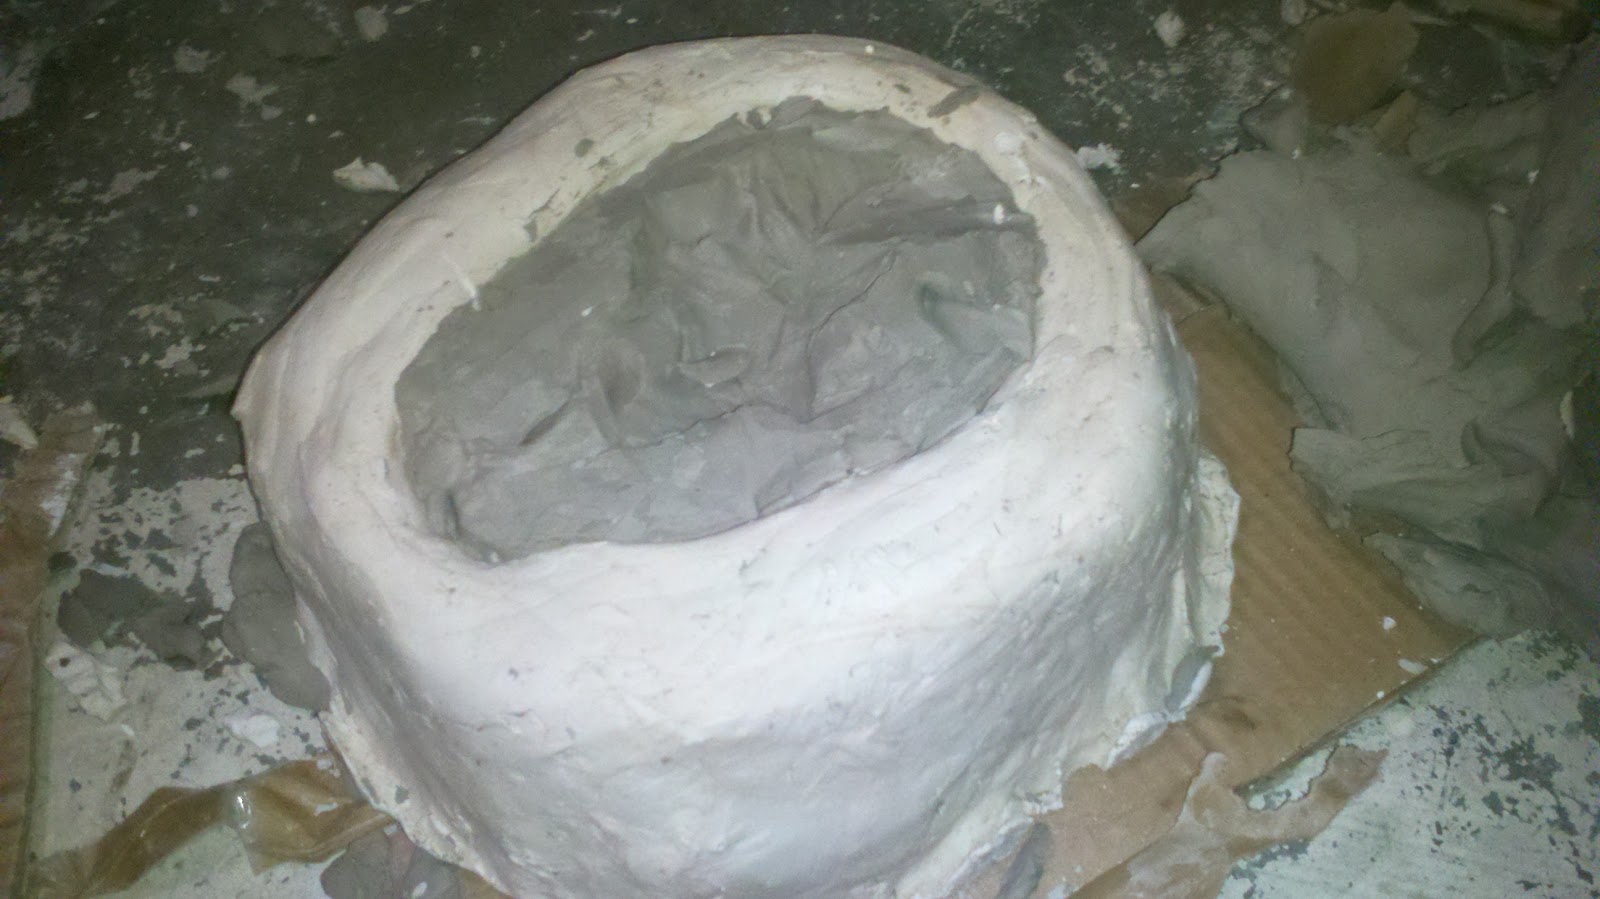
First thing in the morning before work on Tuesday I made (a huge mess) the plaster to pour into the mould.  If you've ever worked with plaster you know this shit is horrible.  It's terrible for your respiratory system - I had an respiratory infection that lasted two months from plaster last year.  It's ridiculously messy, hardens too quickly (even if you retard the process), is super heavy, and god forbid if you don't get the lumps out or let it sit too long or too little before stirring,  and bubbles are always a problem too.  So I sifted through the dry plaster quickly with my hands and thought I'd gotten most of the lumps out.  I measured everything very carefully on the food scale, made sure the water was 70 degrees, prepared a water bath for my hands and tools afterwards so I wouldn't destroy the sink and had my stirrer ready.  I started sifting the plaster into the water with my hands (never do the opposite!) and realized I'd done a terrible job getting the lumps out, which is a huge problem.  Since the plaster hardens so quickly after mixing I had to keep sifting it into the water or start from scratch.  After waiting two minutes (necessary) I stuck my hand into the bucket to try to get the lumps out...nope, they're staying.  There are way too many lumps!  The bucket I thought was plenty big enough was actually EXACTLY big enough to hold the plaster and water so when I stuck my hand in the plaster was all sloshing over the sides.  I realized I'd have to get a colander from upstairs to use to sift the wet and quickly drying plaster into the mould and ran up to get it getting plaster on everything in my wake.  I called to my husband for help.  "Please come down and help me, right now!" He held the colander while I poured the plaster in but it was way too lumpy so it clogged the colander.  I ended up just coating the face with non-lumpy plaster and it took so long that I realized it was now or never and poured the entire bucket and all of the plaster came out - plop.    It made it into the mold but of course splashed everywhere.    Moral to the story is GET THE LUMPS OUT.  I'm buying a sifter immediately. 

Sexy finished mould

 I crossed my fingers and started work for the day.   I made the mould of clay in a box instead of the normal masonite walls because I didn't feel like making a set of walls.  Next time I will be using clamps and walls.


Eight hours later I started to peel away the sides. 


 Flipped it over and the head was stuck.  I started digging it out while calculating how long it took me to make the face because I thought I'd have to remake the entire thing.

    It finally popped out.  Whew!
I made some arms like this:

1. Roll it out.  2.Wrap around dowel.


 3.Score and slip. 4.Connect.

    
5. Make it look like an arm.


I made some shoes too.  This part was the most fun, though it was pretty late when I started.

 Roughed out converse:


Finished Converse:


I also built the torso but that part is super boring.  

My list for today!
Finish torso and neck.
Attach arms.  
Start on wrists and hands.
Cast face.  
Make the back of head.  
Add socks to shoes.  

One thing I've learned during this project is that when the clay is super wet, you need to have four or five things going on at a time.  So you coil another coil and put it on the torso, then you go over and work on the shoes, then you work on the hands, then you work on the arms, repeat.  That way, the clay dries a little and is strong enough not to slump, otherwise you're spending an f-load of time fixing slumping wet clay.  

Back to work. 


Monday, February 6, 2012

Progress 1/18/12 thru 2/6/12

1/18/12: I started by making sort of an armature which is just some paper covered in tinfoil covered in duct tape on a dowel.  Then I made a lollipop around the paper with clay.  Then, for eight hours I shaped the lollipop into a head shaped form.  This is not as easy as it sounds.

1/19/12
I pushed in the eye sockets and added clay to create the nasal bone which is the start of the skull.  I then added a big lump of clay to create the jaw.  I wish I'd have taken pictures of this because it takes a really long time to get the proportions right.  I didn't have it exactly right as you'll see in the next pictures.

1/20/12 
For the nose, I added three little lumps of clay, (tip and nostrils) and then made a piece of 'skin' which is just a thin flat piece of clay.  I laid the skin across the bone and cartilage and shaped it with some tools.  The nose is really fun to make.  Once I had the nose I started to notice that my jaw was too short, and my eyesockets slightly low.  For children, the eye sockets are lower, but not this low.  


Next I added a bean shaped piece of clay under the nose and shaped it into the upper lip.  The upper lip is fat, and looks much too big because you don't have the fat or muscles on the face yet.  


Added a piece of clay and shaped the lower lip.


Started adding some clay below the lower lip to make the jaw larger and more in proportion.


Added fat and muscle around the mouth and cheeks and more on the jaw.  I noticed that that the jaw was looking super masculine so I futzed around with that for a long time.


First try on  the eyes.  A little too low.  Try again.


A little higher but weirdly shaped...try again.


Too close together and super flat and weirdly shaped.  Try again. I think I remodeled the eyes 9 times in all. 


I added the ears.  Making ears is fun!


Hair!  Making hair is not as fun as making ears.


 Head on a stick.


2/5/2012:  Terrible picture but head on a torso.  


2/6/2012:
I met with my adviser after work today to figure out how I was going to make the final piece.  I was initially going to mould the thing in five different pieces in plaster (insanely time consuming), wait for the plaster to dry (takes forever and I was concerned about plaster drying), and cast in slip.  I then had to wait for the slip to dry and fire the pieces and reassemble using epoxy.  My adviser agreed that it was unrealistic.  He explained that I can't fire the original, not necessarily because of the duct tape and paper and tinfoil inside (although that would be very risky) but mostly because the inside of the head is very thick, the torso is very thin and the walls have to be of similar thickness.  I guess I knew that going in, but I thought I was going to make moulds so I really didn't worry about it.   The clay is too dry for me to hollow out now.  So he said, chop the head off right here (slashing motion across the neck) and only mold the face.  It will have to be a press mold. You have rebuild the rest (Holy shit!), and the clay has to be of  similar thickness - no thinner than 3/4 - 1" because the hands will be that thick.   Rebuild the rest...hair and back of head too?  Yes, it's too complicated to mould.  Okay!  

I thought that maybe I could use Rub-R-Mold, which is latex instead of moulding the head in plaster.   I bought some of that, but in researching it further in the moulding book, it was a bad/ risky idea.  I don't have time for mistakes or experimentation right now so I'm going with plaster. I now have two jars of latex from which I will make something fun and scary in the future.  

I went home and cut the thing in half.  I thought I could maybe recast the entire front but in rethinking it, he's right.  Plus, I didn't really like the texture of the shirt or the shape of the chest.  My kid says, "Ooh!  You get a do - over!"  That's one way to look at it.  

I also built the torso half way and built the arms and roughed out the hands and wrists.  

Also, I have to be finished by Monday in order to fire this thing in time for the show.  So I will work during the day, and make my piece after 4 and get in 9-10 hours of work T-W-Th-F.  On the weekend I will have from 8am - 2am (with 6 hours of sleep which isn't bad).  So altogether I will have around 70 hours (minus bio breaks and taking pictures and updates) to finish the project, which I'm pretty sure is enough.  

Friday, February 3, 2012

SAIC BFA Exhibition

 I'm in my final semester of art school at The Art Institute of Chicago (SAIC) and am working on my BFA Exhibition, which is kind of like a thesis at a non-art college, except that it's not mandatory and is way more fun.  The show is held in what is essentially a four(?) story warehouse like building filled with tiny little gallery wall and floor spaces. Any student who wants to participate and has work to show is allowed to be in the exhibition.  Usually there are around 400 students showing their work and as a spectator, it's a surreal experience.  I'm looking forward to it and I'm also terrified.


School of the Art Institute of Chicago Opening Event: BFA Exhibition
Fri, March 16, 2012 7pm – 9pm  - This is the opening.
Sat, March 17, 2012 11am - 6pm - Most artists will be there all day the next day as well.  
The show is open until April 4th.
Sullivan Galleries, 33 S. State St., 7th floor, Chicago, IL 60603 (map)


I can't imagine not being a part of the show considering that I've been in the school since I was 30, and I'm 38 - soon 39.  When I started at SAIC I thought I was getting student loans.  Unfortunately I'd been working as a programmer and made too much money the year before to get student loans.  My dream was to exit the corporate world, go to art school and probably be poor forever, but at least I'd be happy with what I was doing.   You can defer those loans forever right?   So, after one eye-opening semester, due to poor planning and a lack of funding I had to take the next semester off.  I was told to get private loans (no) or see ya later.  So, the following semester I took a temp job at Abbot Laboratories, gained ten pounds, and paid my tuition in six months.  Nine years ago tuition was $780 a credit hour.  It's now about $1200 a credit hour, for fucking art school.


I then decided to go ahead and take 1 or 2 night/weekend courses at SAIC a semester and take a full time corporate job.  It was a catch 22.  If you're responsible and work at a job where they pay you money (and it doesn't have to be all that much money either), you can't get student loans and must get private loans with a higher percentage rate.  But if you don't work at all, or just work a little, then they'll gladly hand over TONS of money.  This makes no sense to me.  Do the people who've never worked have a higher potential for getting a high paying job to pay the loan back?  This is a perfectly good example of why our economy went to shit.  Okay, reading that again it sounds like I don't want kids to get loans who's parents can't pay for school.  OF COURSE they should get loans.  Absolutely.  Just don't penalize the people who held jobs in the past and want to become educated.


Strangely, the fellow who hired me at the corporation where I'm still working now only hired me because I went to SAIC and put it on my resume, which I had hesitated in doing.  Though he was a programmer, he had run a successful African art gallery in the past.  At my interview he warned me that I'd be working from home  (Yay!).  So I've been working at home and going to SAIC in the evening or on weekends for the past 9 years.


Anyway, I'll continue that story later, but what I figured out is that this is probably the easiest way for me to document my work and frustration day by day.  I have a very short period of time to do a huge amount of work because I waited too long to start this project.


I have a schedule that has to be kept, or the project will not turn out as expected.  I'm working after work approximately 8-10 hours every night and non-stop on the weekends.  My family is being really great about dealing with stuff that I normally deal with.


For my installation, I'm recreating a still from a dream I had.  I was me as a little girl, running through sparse woods and I was looking for something, but I don't remember if I knew what I was looking for.    I came up to an old wooden farm house and was looking through a dusty window.  I used my hand to wipe it off and was trying to see inside.  Suddenly I was two people.  I was me as a grown up with my back plastered against the wall next to the window on the inside of the house, hiding from the me as a young girl.   I could switch to being me as a little girl easily and in that body just felt curious and desperate to find this thing.  It dawned on me that it was a dream and I went back and forth once more and it started to feel like I was in both bodies.  Before I realized I could fly or do anything I wanted because I was lucid, I woke up.  There was more to the dream prior to that but I can't remember that part.  I've had lucid dreams that I remember only a handful of times in my life.


For the installation, I'm making myself as a six year old child in porcelain, life sized - 42" standing and looking into a window.  There will be a wall hanging from the ceiling of the gallery and bolted to a piece of wood on the floor.   We are remodeling our house and we have a ton of old windows and old wood so I'll be using those materials for the wall.  The figure will be attached to a base.  But the base (wood) that the wall is bolted to on the floor will be maybe 3.5 feet by 4 feet.  On the side where the girl is bolted down I will cover the ground and around her feet with sod so you can't see the ugliness of the bolts, and so that the viewer understands that it's outside.  Initially I wanted to recreate myself hyper-realism style as I am as a grownup with my back to the wall on the inside but I can't realistically pull that off in the amount of time I have.  I don't know what will be on the other side of the wall yet.  Definitely wallpaper.


I'm going to document each day (and retro back to the beginning of the project) with pictures, descriptions, problems, solutions, freak-outs and cats.