2/8/2012
...after the advice from the instructor to mould only the face and rebuild the rest
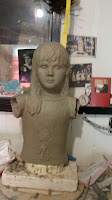 |
| It went from this |
 |
| to this |
I went home and cut the thing in half. I thought I could maybe recast the entire front but in rethinking it, he's right. Plus, I didn't really like the texture of the shirt or the shape of the chest. My kid says, "Ooh! You get a do - over!" which actually was pretty great in retrospect because I didn't really like how smooth and robotic the torso looked. I'd gone to Dick Blick and gotten the Rub-R-Mold and what I'd calculated to be enough plaster just in case the Rub-R-Mold wouldn't work and I realized I'd calculated for only the head, not for the entire mould. My husband was nice enough to go out and get me more plaster for me Monday night. He's pretty great.
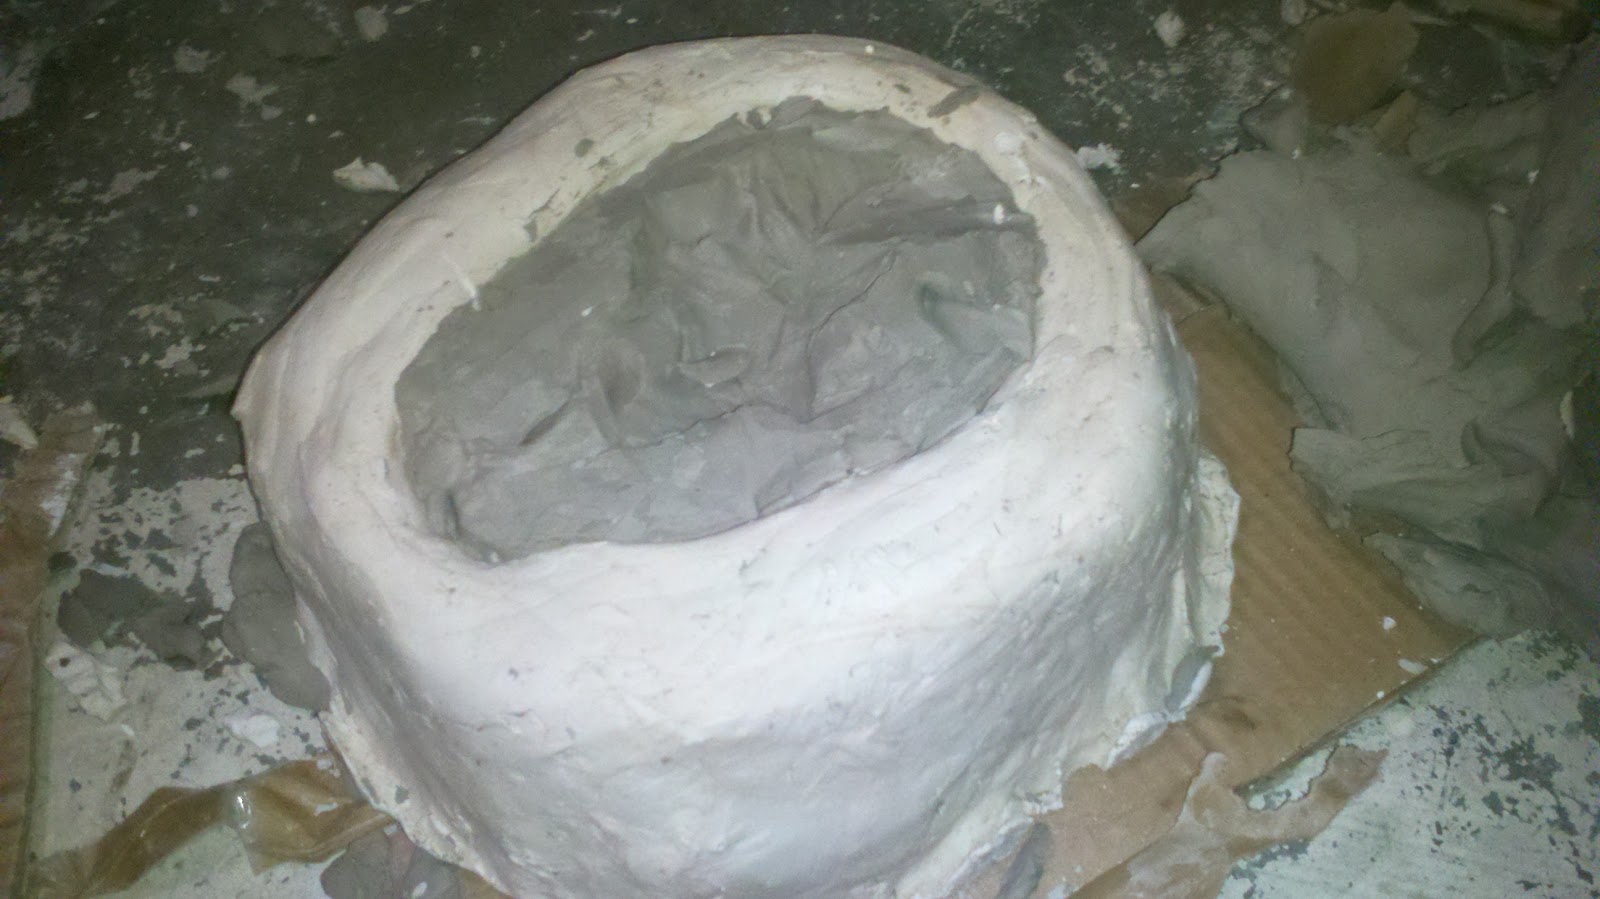
First thing in the morning before work on Tuesday I made (a huge mess) the plaster to pour into the mould. If you've ever worked with plaster you know this shit is horrible. It's terrible for your respiratory system - I had an respiratory infection that lasted two months from plaster last year. It's ridiculously messy, hardens too quickly (even if you retard the process), is super heavy, and god forbid if you don't get the lumps out or let it sit too long or too little before stirring, and bubbles are always a problem too. So I sifted through the dry plaster quickly with my hands and thought I'd gotten most of the lumps out. I measured everything very carefully on the food scale, made sure the water was 70 degrees, prepared a water bath for my hands and tools afterwards so I wouldn't destroy the sink and had my stirrer ready. I started sifting the plaster into the water with my hands (never do the opposite!) and realized I'd done a terrible job getting the lumps out, which is a huge problem. Since the plaster hardens so quickly after mixing I had to keep sifting it into the water or start from scratch. After waiting two minutes (necessary) I stuck my hand into the bucket to try to get the lumps out...nope, they're staying. There are way too many lumps! The bucket I thought was plenty big enough was actually EXACTLY big enough to hold the plaster and water so when I stuck my hand in the plaster was all sloshing over the sides. I realized I'd have to get a colander from upstairs to use to sift the wet and quickly drying plaster into the mould and ran up to get it getting plaster on everything in my wake. I called to my husband for help. "Please come down and help me, right now!" He held the colander while I poured the plaster in but it was way too lumpy so it clogged the colander. I ended up just coating the face with non-lumpy plaster and it took so long that I realized it was now or never and poured the entire bucket and all of the plaster came out - plop. It made it into the mold but of course splashed everywhere. Moral to the story is GET THE LUMPS OUT. I'm buying a sifter immediately.
 |
| Sexy finished mould |
I crossed my fingers and started work for the day. I made the mould of clay in a box instead of the normal masonite walls because I didn't feel like making a set of walls. Next time I will be using clamps and walls.
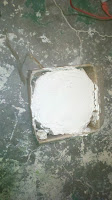
 Eight hours later I started to peel away the sides.
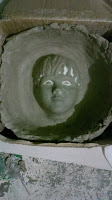
Flipped it over and the head was stuck. I started digging it out while calculating how long it took me to make the face because I thought I'd have to remake the entire thing.
 It finally popped out. Whew!
I made some arms like this:
1. Roll it out. 2.Wrap around dowel.
3.Score and slip.
2.Wrap around dowel.
3.Score and slip. 4.Connect.
5. Make it look like an arm.
I made some shoes too. This part was the most fun, though it was pretty late when I started.
Roughed out converse:
Finished Converse:

I also built the torso but that part is super boring.
My list for today!
Finish
torso and neck.
Attach arms.
Start on wrists and hands.
Cast face.
Make the back of head.
Add socks to shoes.
One thing I've learned during this project is that when the clay
is super wet, you need to have four or five things going on at a time. So you coil another coil and put it on the
torso, then you go over and work on the shoes, then you work on the hands, then
you work on the arms, repeat. That way,
the clay dries a little and is strong enough not to slump, otherwise you're spending an f-load of time fixing slumping wet clay.
Back to work.

 I made socks on top of the shoes and an unsuccessful leg that looked like the girl had polio. I figured out that you have to wrap the clay around a cardboard tube and let it harden over night before you start to work it.